Hello!
This article describes how to create animations using .NET MAUI CommunityToolkit simply.
Setup NuGet package
Let's start with installing the NuGet package. In the Solution Explorer panel, right-click on your project name and select Manage NuGet Packages. Search and install for CommunityToolkit.Maui. After installation enable CommunityToolkit.Maui in MauiProgram.cs:
BaseAnimation
.NET MAUI CommunityToolkit introduces BaseAnimation and BaseAnimation<IAnimatable> abstract classes for animation types to inherit. They already contain Length and Easing bindable properties and the abstract method Animate.
Create simple animation
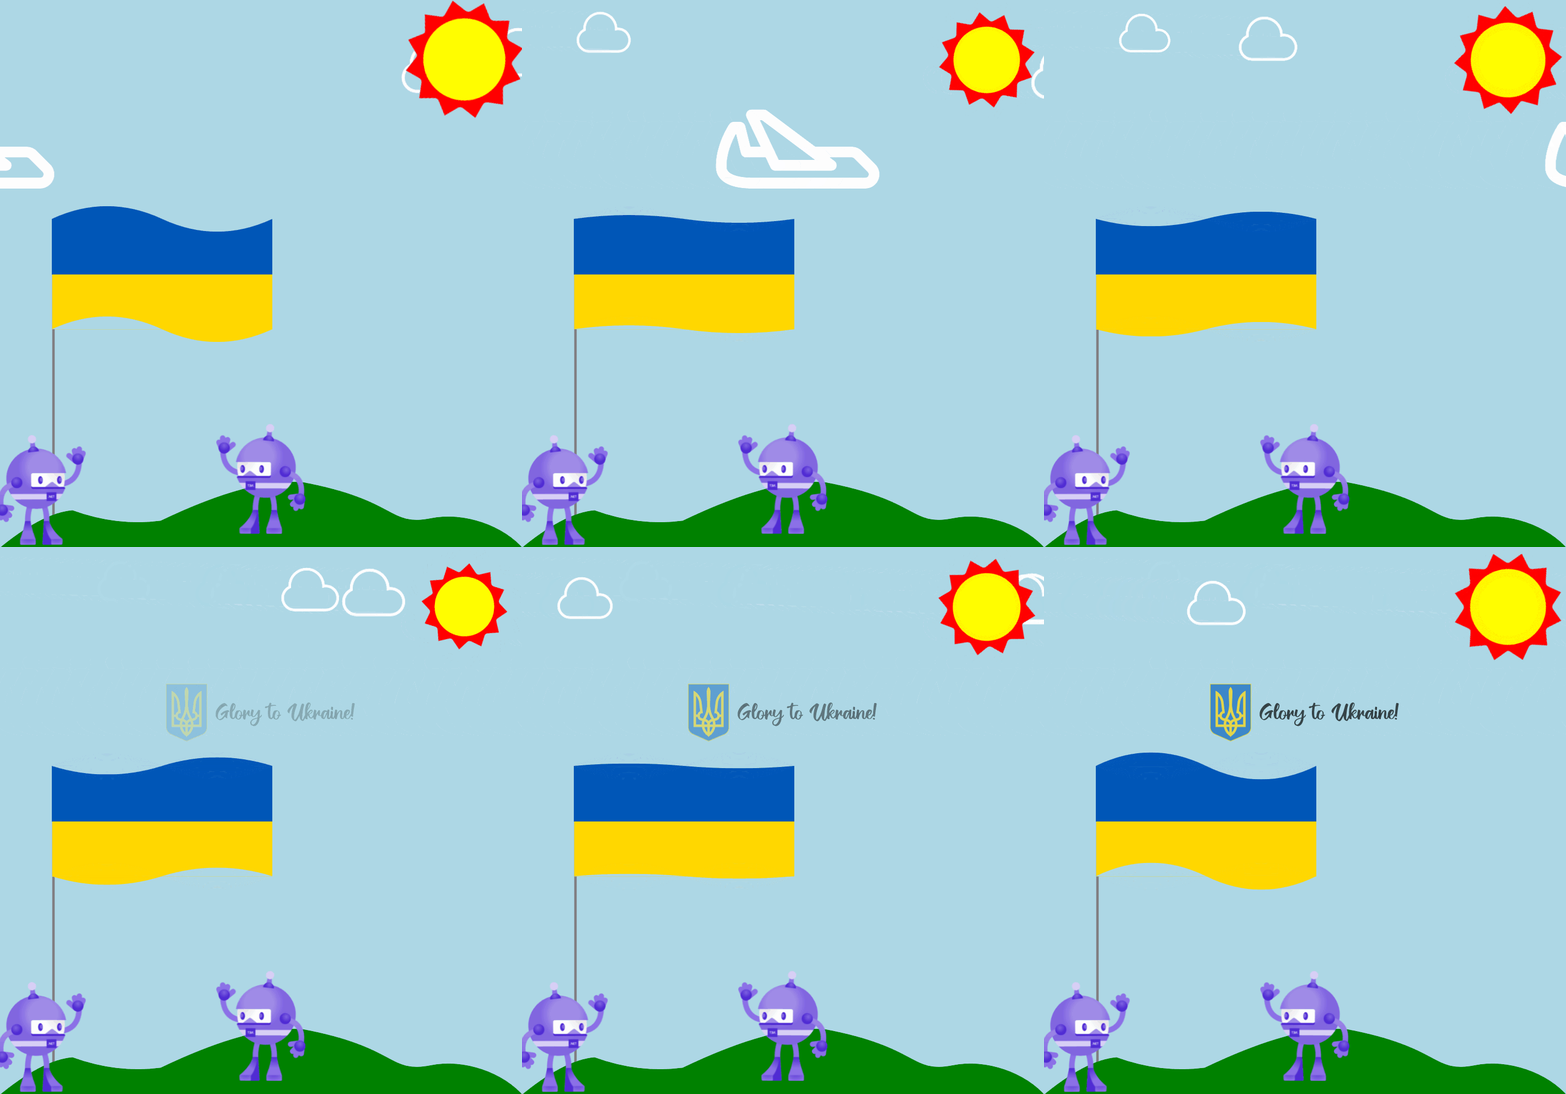
Assume you have a VisualElement that looks like the sun. Like in cartoons the sun scales and rotates at 360º. Let's animate it.
Let's run our animation:
Create an animation for a custom element
Assume you have a custom element called Cloud. Clouds can fly in the sky and can scale. Let's animate them.
In this example, we apply animation explicitly to the Cloud control. We define an animation to concurrently run 3 animations: TransitionX, TransitionY, and Scale. Then, in method Animate, we run this Animation for our view.
AnimationBehavior
The examples above showed how to run animation from C# code. What if I want to run it from Xaml? .NET MAUI CommunityToolkit has a tool for it. It's an AnimationBehavior. The AnimationBehavior is a behavior that shows an animation on any VisualElement when the AnimateCommand is called or when the user taps on the control.
That's it.
The full code can be found on GitHub.
Happy coding!

