

Hello!
If you are still using Azure Active Directory B2C, please consider migrating to Microsoft Entra External ID. Microsoft Entra External ID is the new name for Azure Active Directory B2C, and it provides the same functionality with additional features and improvements. Furthermore, effective May 1, 2025, Azure AD B2C will no longer be available to purchase for new customers.
In this example, we will create a Blazor WebAssembly Standalone application and an ASP.NET Core Web API application that the Blazor WebAssembly application communicates with to access back-end services.
Set Up a Microsoft Entra External ID Tenant
Creating a Microsoft Entra External ID Tenant requires an Azure Account.
In the Azure Portal, click Create a resource and search for Microsoft Entra External ID and press enter.

Fill out the form and click Review + Create.
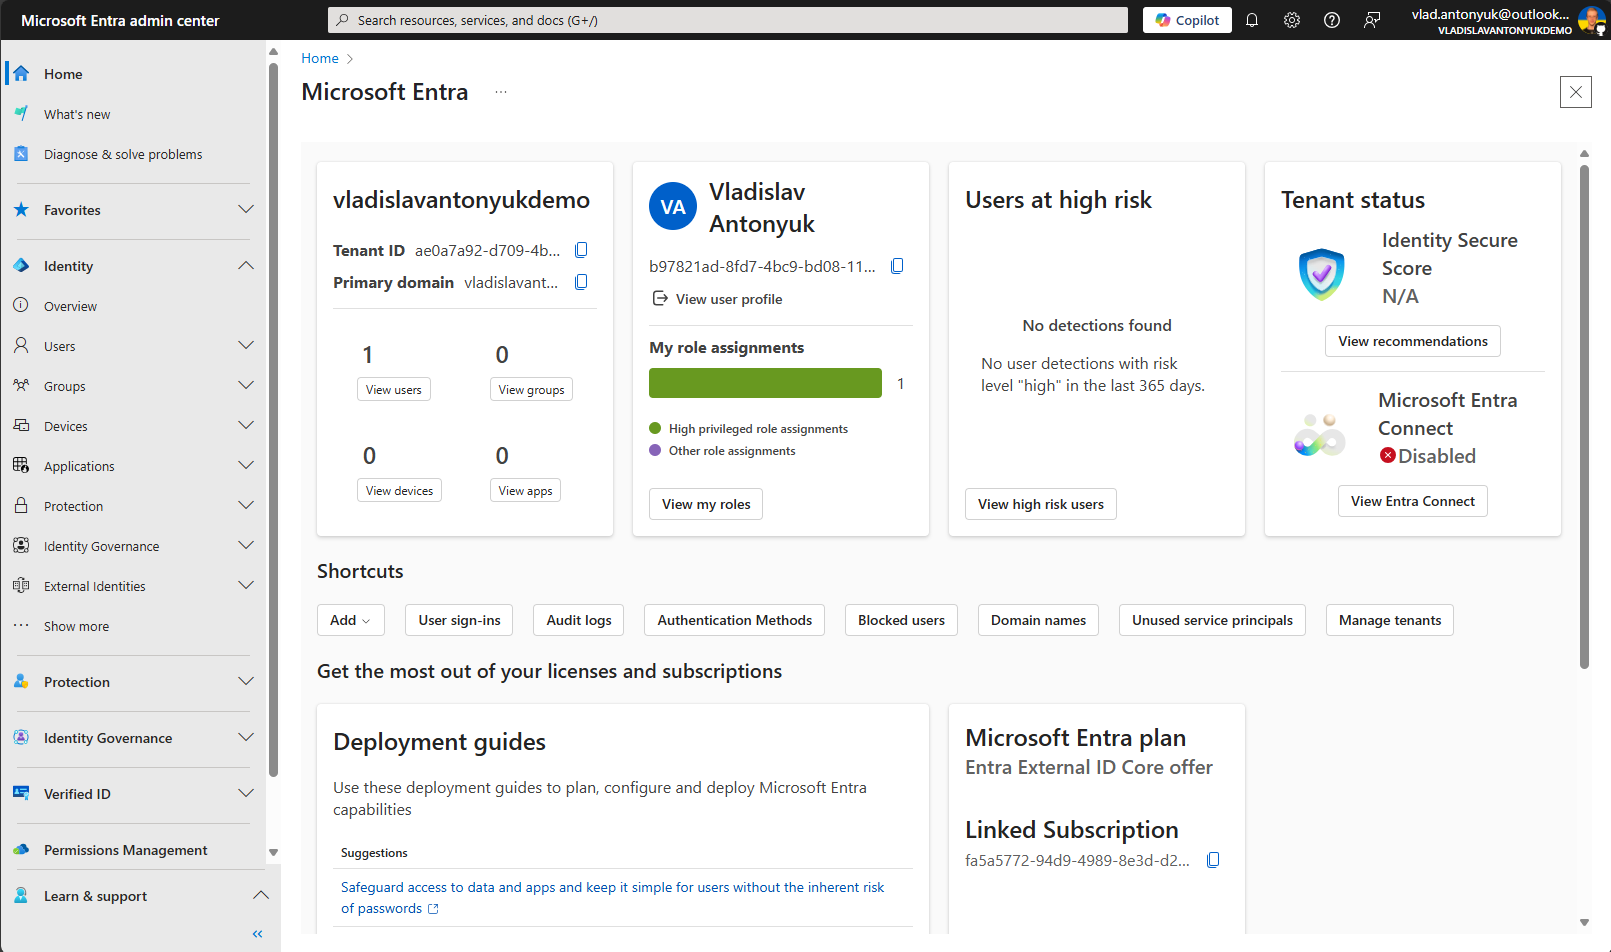
After the Microsoft Entra External ID Tenant is set up, visit Microsoft Entra Portal - a new portal for managing Microsoft Entra External ID.
Register Backend Application
We will need to create two App registrations. One that the ASP.NET Core WebAPI application will use to communicate and one that the Blazor WebAssembly will use.
To allow the ASP.NET Core WebAPI application, to interact with Microsoft Entra External ID Tenant, select App Registrations, then New registration.
Give the application a Name, and select Supported account types. Also, set the Redirect URI to 'Web' and enter a URL, such as https://localhost/signin-oidc. Then, click 'Register'.
The App Registration will be created.
The Server registration needs to expose an API that the Client registration (to be created later) will connect to.
Select Expose an API then Add a scope.

Register A Client (WebAssembly) Web Application
To allow the Blazor WebAssembly application, to interact with Microsoft Entra External ID Tenant, select App Registrations, then New registration.
Give the application a Name, and select Supported account types. Also, set the Redirect URI to Single-Page Application and enter a URL like https://localhost:7119/authentication/login-callback, then click Register.
The App Registration will be created.
In the newly created Client (WebAssembly) App Registration, select API Permissions, then Add a permission. Find the Server App Registration created earlier, select it, then select the Permissions created earlier and click Add permissions.

Click the Grant admin consent button and confirm when the confirmation popup displays.
The final step is to Expose an API to Authorized client applications. Back in the Server App Registration, select Expose an API, then Add a client application.
Fill out the form with the Client (WebAssembly) App Registration details, including the Client ID and Authorized Scopes, and click Add application. 
Configure Microsoft Entra External ID User Flow
In this example, we will create a User Flow to allow login using an Email address and password. You can also create a User Flow to allow login using a Microsoft Account or other social identity providers.
In the Microsoft Entra Portal, select External Identities | User flows, then select New user flow.
Give the Flow a name and click Create.
The Flow will show in the User flows section.
Clicking on it will allow further configuration if needed.
The final step is associating your user flow with an application. That allows you to enable sign-up on that app. You can choose more than one application to be associated with the user flow. Once you associate the user flow with one or more applications, users who visit that application will be able to sign up using the options configured in the user flow.

Create The Blazor WebAssembly Standalone application with Microsoft Entra External ID
In Visual Studio, create a new project and select Blazor WebAssembly Standalone App.
Add a required NuGet package:
In index.html, add the following code to the <body> section:
In Program.cs, add the following code to the Main method:
Create a new class GraphAPIAuthorizationMessageHandler.cs:
In wwwroot/appsettings.json, add the following code:
All other parts of the application are the same as for a standard Blazor WebAssembly Standalone application with Azure Active Directory B2C or just default authentication.
Create The ASP.NET Core WebAPI application
In Visual Studio, create a new project and select ASP.NET Core Web API.
Add a required NuGet package:
In Program.cs, add the following code to configure authentication:
For all endpoints that require authentication, call the RequireAuthorization() method.
You can also validate the scope of the access token by calling VerifyUserHasAnyAcceptedScope() method:
The final step is to configure the appsettings.json file in the ASP.NET Core WebAPI project.
Run the Application
We are done. Start the application and check the result.
I have create a template for this example, which you can use to quickly set up a Blazor WebAssembly Standalone application with Microsoft Entra External ID authentication and an ASP.NET Core Web API backend.
You can find the template in the GitHub repository.